Glues sponges are all the rage these days, and for absolute good reason.
They. are. so. awesome! Once I saw them all over social media, I knew that I wanted to try them out with my students.

Glue sponges are very simple to make and not expensive to make or maintain.
In my classroom, glue sponges have taken the place of glue sticks and liquid glue in a bottle. ALL we use are glue sponges, and this is our second year using only glue sponges.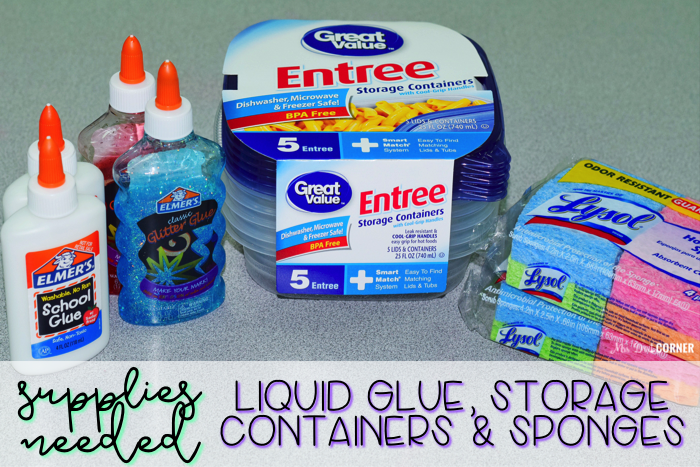
Supplies needed:
- Liquid Glue (1 bottle per container)
- House Sponges (you can get them at the dollar store – typically 2 fit in one container, depending on the size of container you will be using)
- Storage containers (pictured are the WalMart brand, I think they’re like $2.47 for 5 containers)
To watch instead of read, here’s a video how to:
Now let’s learn how easy these glue sponges are to make…
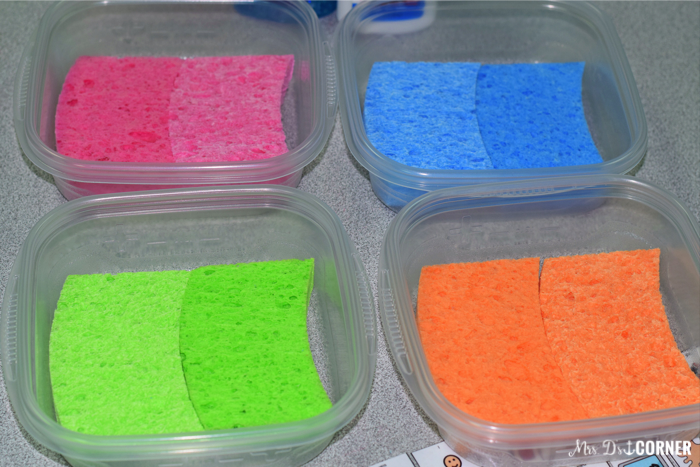
The first step is to open the containers and put your sponges inside of the containers.
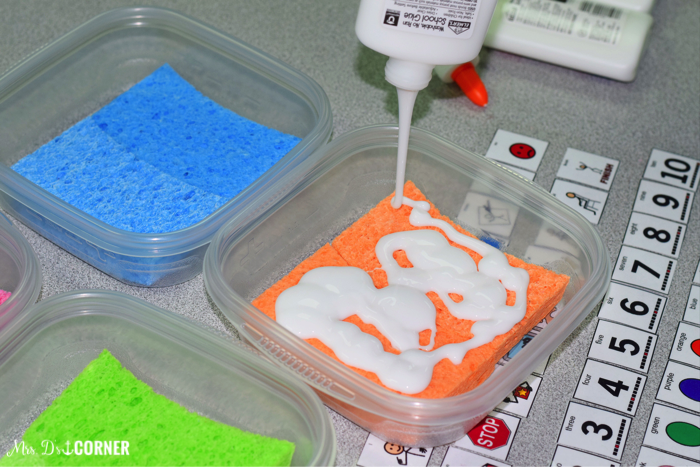
Then you will pour one bottle of liquid glue into each container. Pour it right on top of the sponges.

This is what your sponge will look like once you finish pouring all of the glue out of the bottle.

Now something SUPER amazing that I just tried out was the liquid glitter glue. I didn’t know how it would work as being the glue in the whole glue sponge thing… so we tried it.
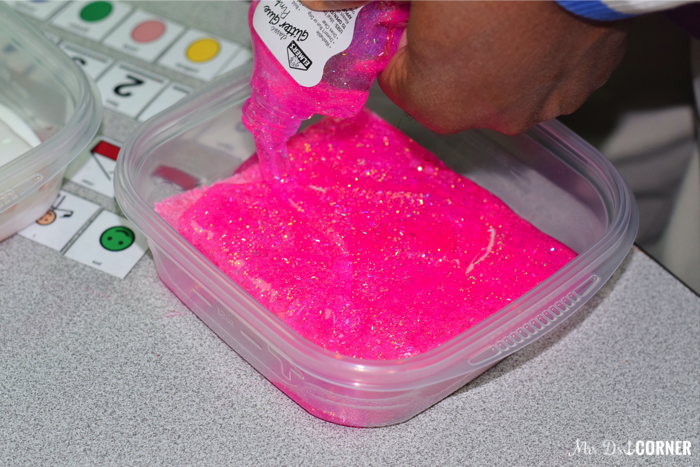
Same exact process as the regular liquid bottle glue.
You’ll then want to let your sponges sit overnight. This gives the glue time to saturate the sponge and become a glue sponge.

Don’t forget to put the lids on your containers as they are becoming glue sponges.
…or after each use.
And that’s it! Your glue sponges will look like the green glue sponge above once they are ready to go.
To use them, students just dab the paper on top of the glue sponge and then add it to their paper. Super easy to use!
Oh yeah, and that glitter glue sponge… are you curious as to how it works?

…it works like magic! Perfection! Pure glittery amazingness!
I will be using the glitter glue sponge as a special “VIP” glue sponge for students to use on special occasions only.
Tips for implementing glue sponges in your special education classroom:
1. Our students are very sensory, and the first few times you use these with your students, they will probably want to just touch the sponge. With their whole hand. Maybe the arms too. And they might try to lick the glue off of their fingers. SOOOO you’ll want to teach them the proper etiquette for using the sponges.
2. Don’t forget to fully close the containers after every use. If you don’t, they will get moldy and you’ll have to throw the sponges away and start over.
3. Glue sponges typically last me about 4-6 months. They will start to dry out eventually, as students use up the glue. Simply add more glue to the top and let it sit overnight again. Like new!
[ Days of the Week FREEBIE ]
Here is a super quick video to show you just how easy and quick making glue sponges is, and how easy they are to use!

